
How To Install Stikwood
Wood planks are a good choice for interior decoration projects for so many reasons. Wood is a natural, eco-friendly material that releases fewer carbon emissions during production than plastic. Furthermore, you can often recycle wood into other features when you have no use for it.
Aesthetically, wood can create a calming and cozy environment. The material is also extremely long-lasting, ensuring that your wall or ceiling’s wooden features will last for many years.
All of these reasons may influence your decision to use wood planks when decorating your home. There’s just one problem: you don’t currently know how to install wood planks on wall sections. This guide digs into the key issues you face, including choosing where to install your planks, how to find the right materials, and the steps you must follow during installation.
Before diving into how to find wood planks and install them, you must answer a key question:
Where should the planks go?
Choosing the wrong location for your wooden planks could result in them being obscured from view and not acting as the major wall feature they’re supposed to be. When choosing where to install your reclaimed planks, keep the following pointers in mind:
· Take some time to visualize your room and how you’ll use the wood planks. Will it be an art piece, a whole accent wall, or even an accent ceiling? The orientation of the wood should also be considered. Horizontal planks are more calming and lengthen a space, while vertical boards add energy and height, while angled designs can be fun and visually interesting. It’s often difficult to do this mentally, so consider sketching your wall and the features it already has on a piece of graph paper. Add your reclaimed planks to that sketch and check if they’re positioned in a way that draws attention and adds appeal to your wall.
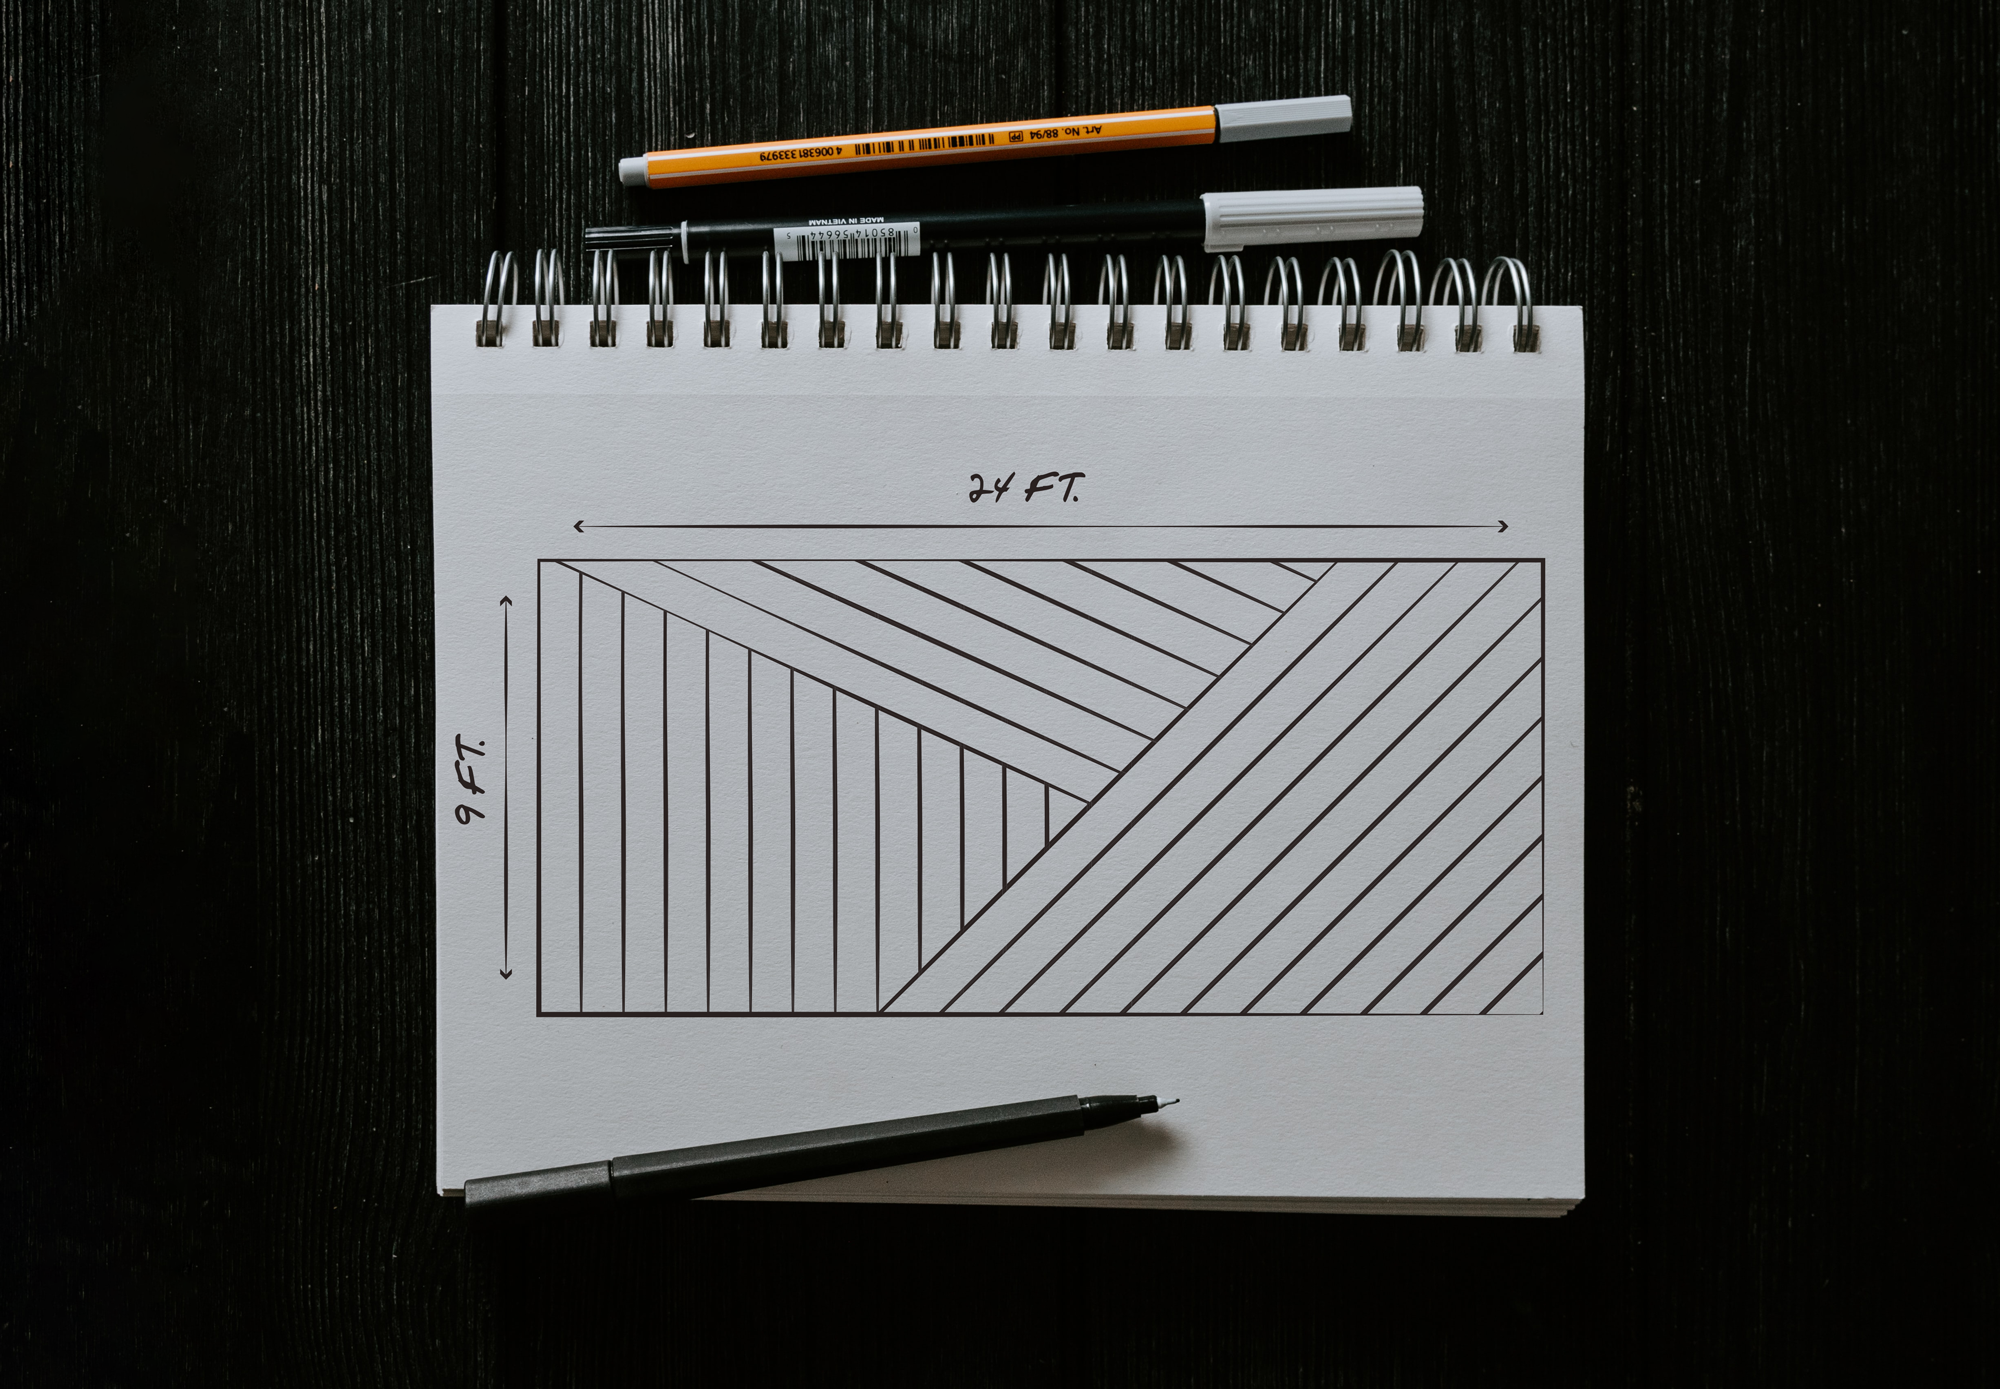
· Always measure before deciding on a location. If you’re planning on using reclaimed planks to cover the entire wall, you need to ensure you have enough planks for the task. If you’re using a single wood plank as a decorative art piece, keep enough space between it and any existing features. Ideally, you’ll have at least four inches of leeway on all sides of your reclaimed plank. Any less than four inches, and you run the risk of your artwork looking cluttered.
· Consider how lighting will affect your reclaimed planks. If you want to highlight a piece of reclaimed plank artwork, consider installing sconces or a picture light to emphasize the piece when the room is dark. Furthermore, consider any existing light structures. If they obscure your view of your plank, you either need to change the installation location or move the light fixture.
Once you’ve decided on a location and have some general measurements in mind for the art piece or wood wall feature, your next step is to find the wood with which you’ll work. This is a key challenge when figuring out how to install wood planks on wall sections.
Though the price of lumber has fallen drastically since 2022, many anticipate price increases in 2023 and beyond. As a result, you need to find the perfect wood while keeping your costs low. The following tips can help you achieve the look you’re going for without breaking the bank.
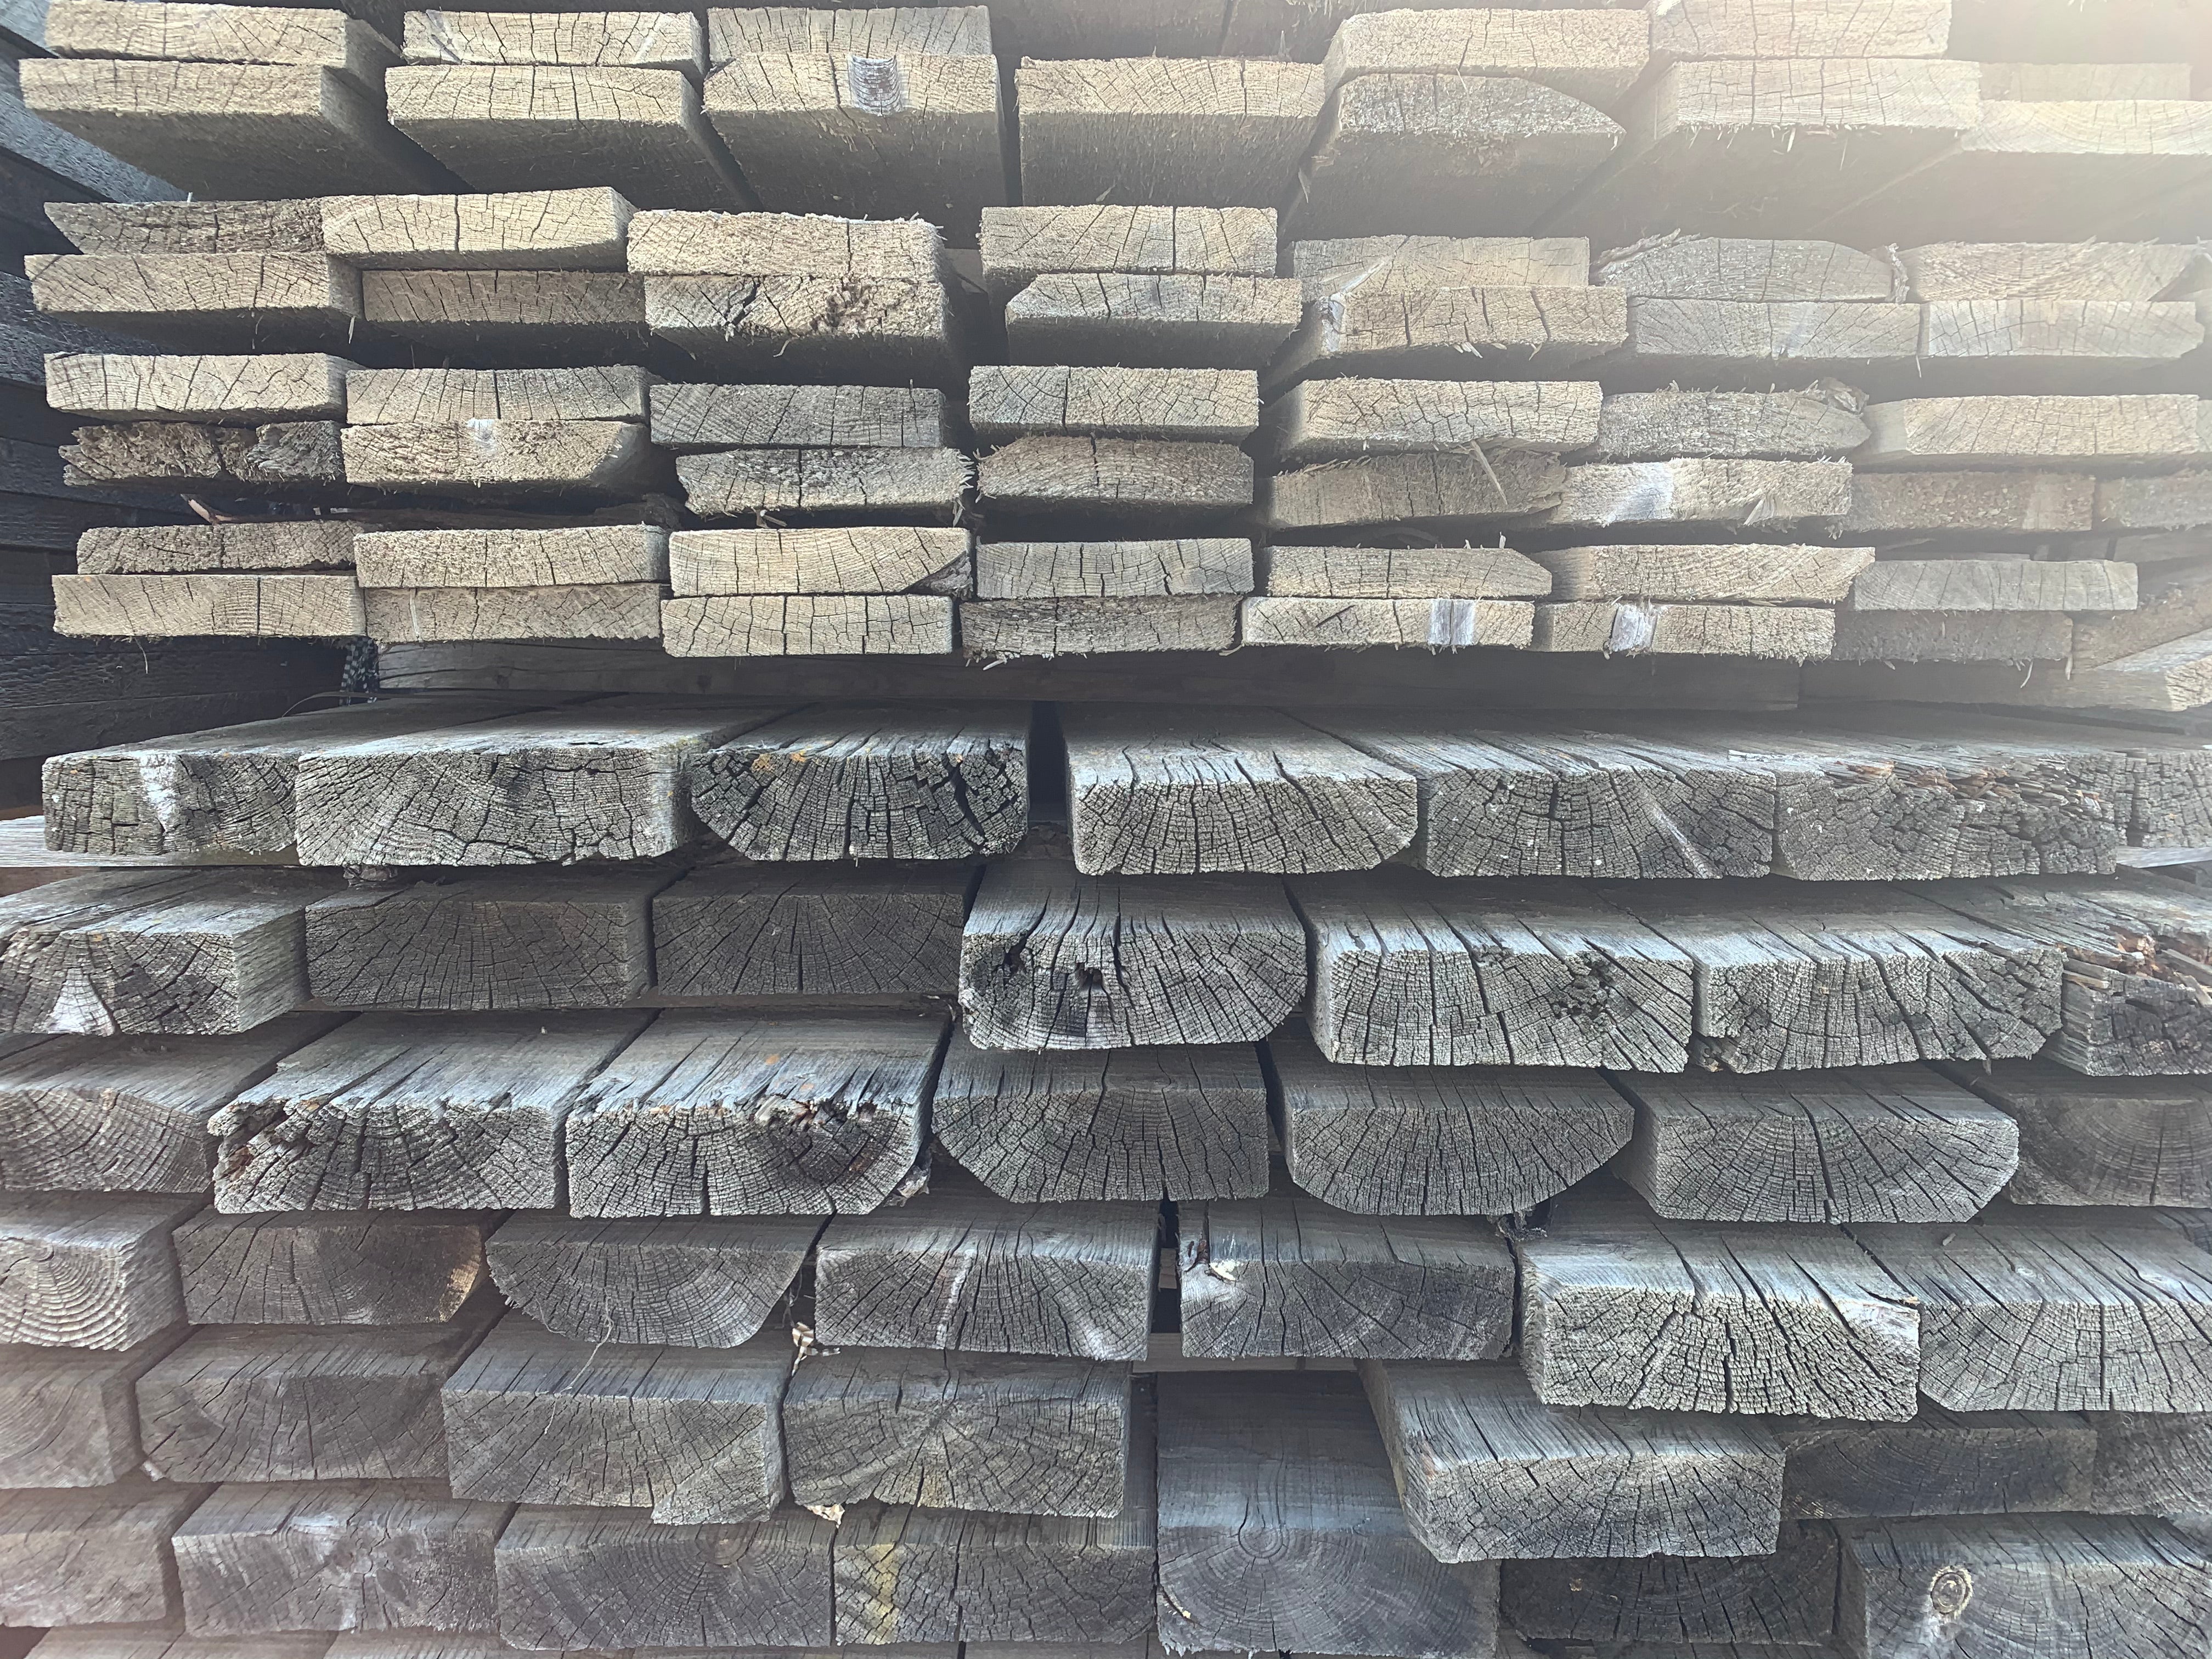
Using reclaimed wood is a good idea because it’s environmentally friendly and has a certain character that new wood can’t replicate.
You just have to ensure that you source your wood from an appropriate dealer.
Phone directories and internet searches can help you locate local dealers. But don't go with the first dealer you find, because you might end up paying more or getting a worse product. Not all reclaimed wood is the same. If your wood was reclaimed from an old factory or left lying in a dirty field somewhere, it may have chemicals or pests that you don’t want in your home. So choose your source wisely.
When choosing a dealer, ask them about their quality and workmanship guarantees. Any dealer that doesn’t offer a warranty or won’t tell you where their wood is sourced is indirectly telling you that they’re not confident in the quality of their wood. Also, be on the lookout for shoddy business practices. Some examples are not having a good billing and quoting system or having a website that isn't well made. These are signs that the dealer doesn't have the professionalism you'll need if you have problems with the wood.
Finally, understand the cost of reclaimed wood. Generally speaking, you should be able to purchase this type of wood for between $5 and $20 per square foot. The exact price depends on the type of wood you buy. Be wary of any dealer that falls significantly outside that price range.
Perhaps you’re wary of working with a dealer because you don’t know enough about wood to recognize whether you’re getting a good deal.
If that’s the case, speak to an expert. Contractors who work with wood every day are valuable sources of information. Visit any local construction sites in your area and ask to speak to the site foreman. Explain what you’re looking for, and they may be able to direct you to the wood they’ve reclaimed as part of their work.
Always ask for permission before reclaiming wood from a construction site. Many contractors recycle the wood themselves, occasionally acting as dealers in addition to builders. If you’re struggling to find construction sites in your area, a simple search for “local city building projects” should give you a list of sites to try.
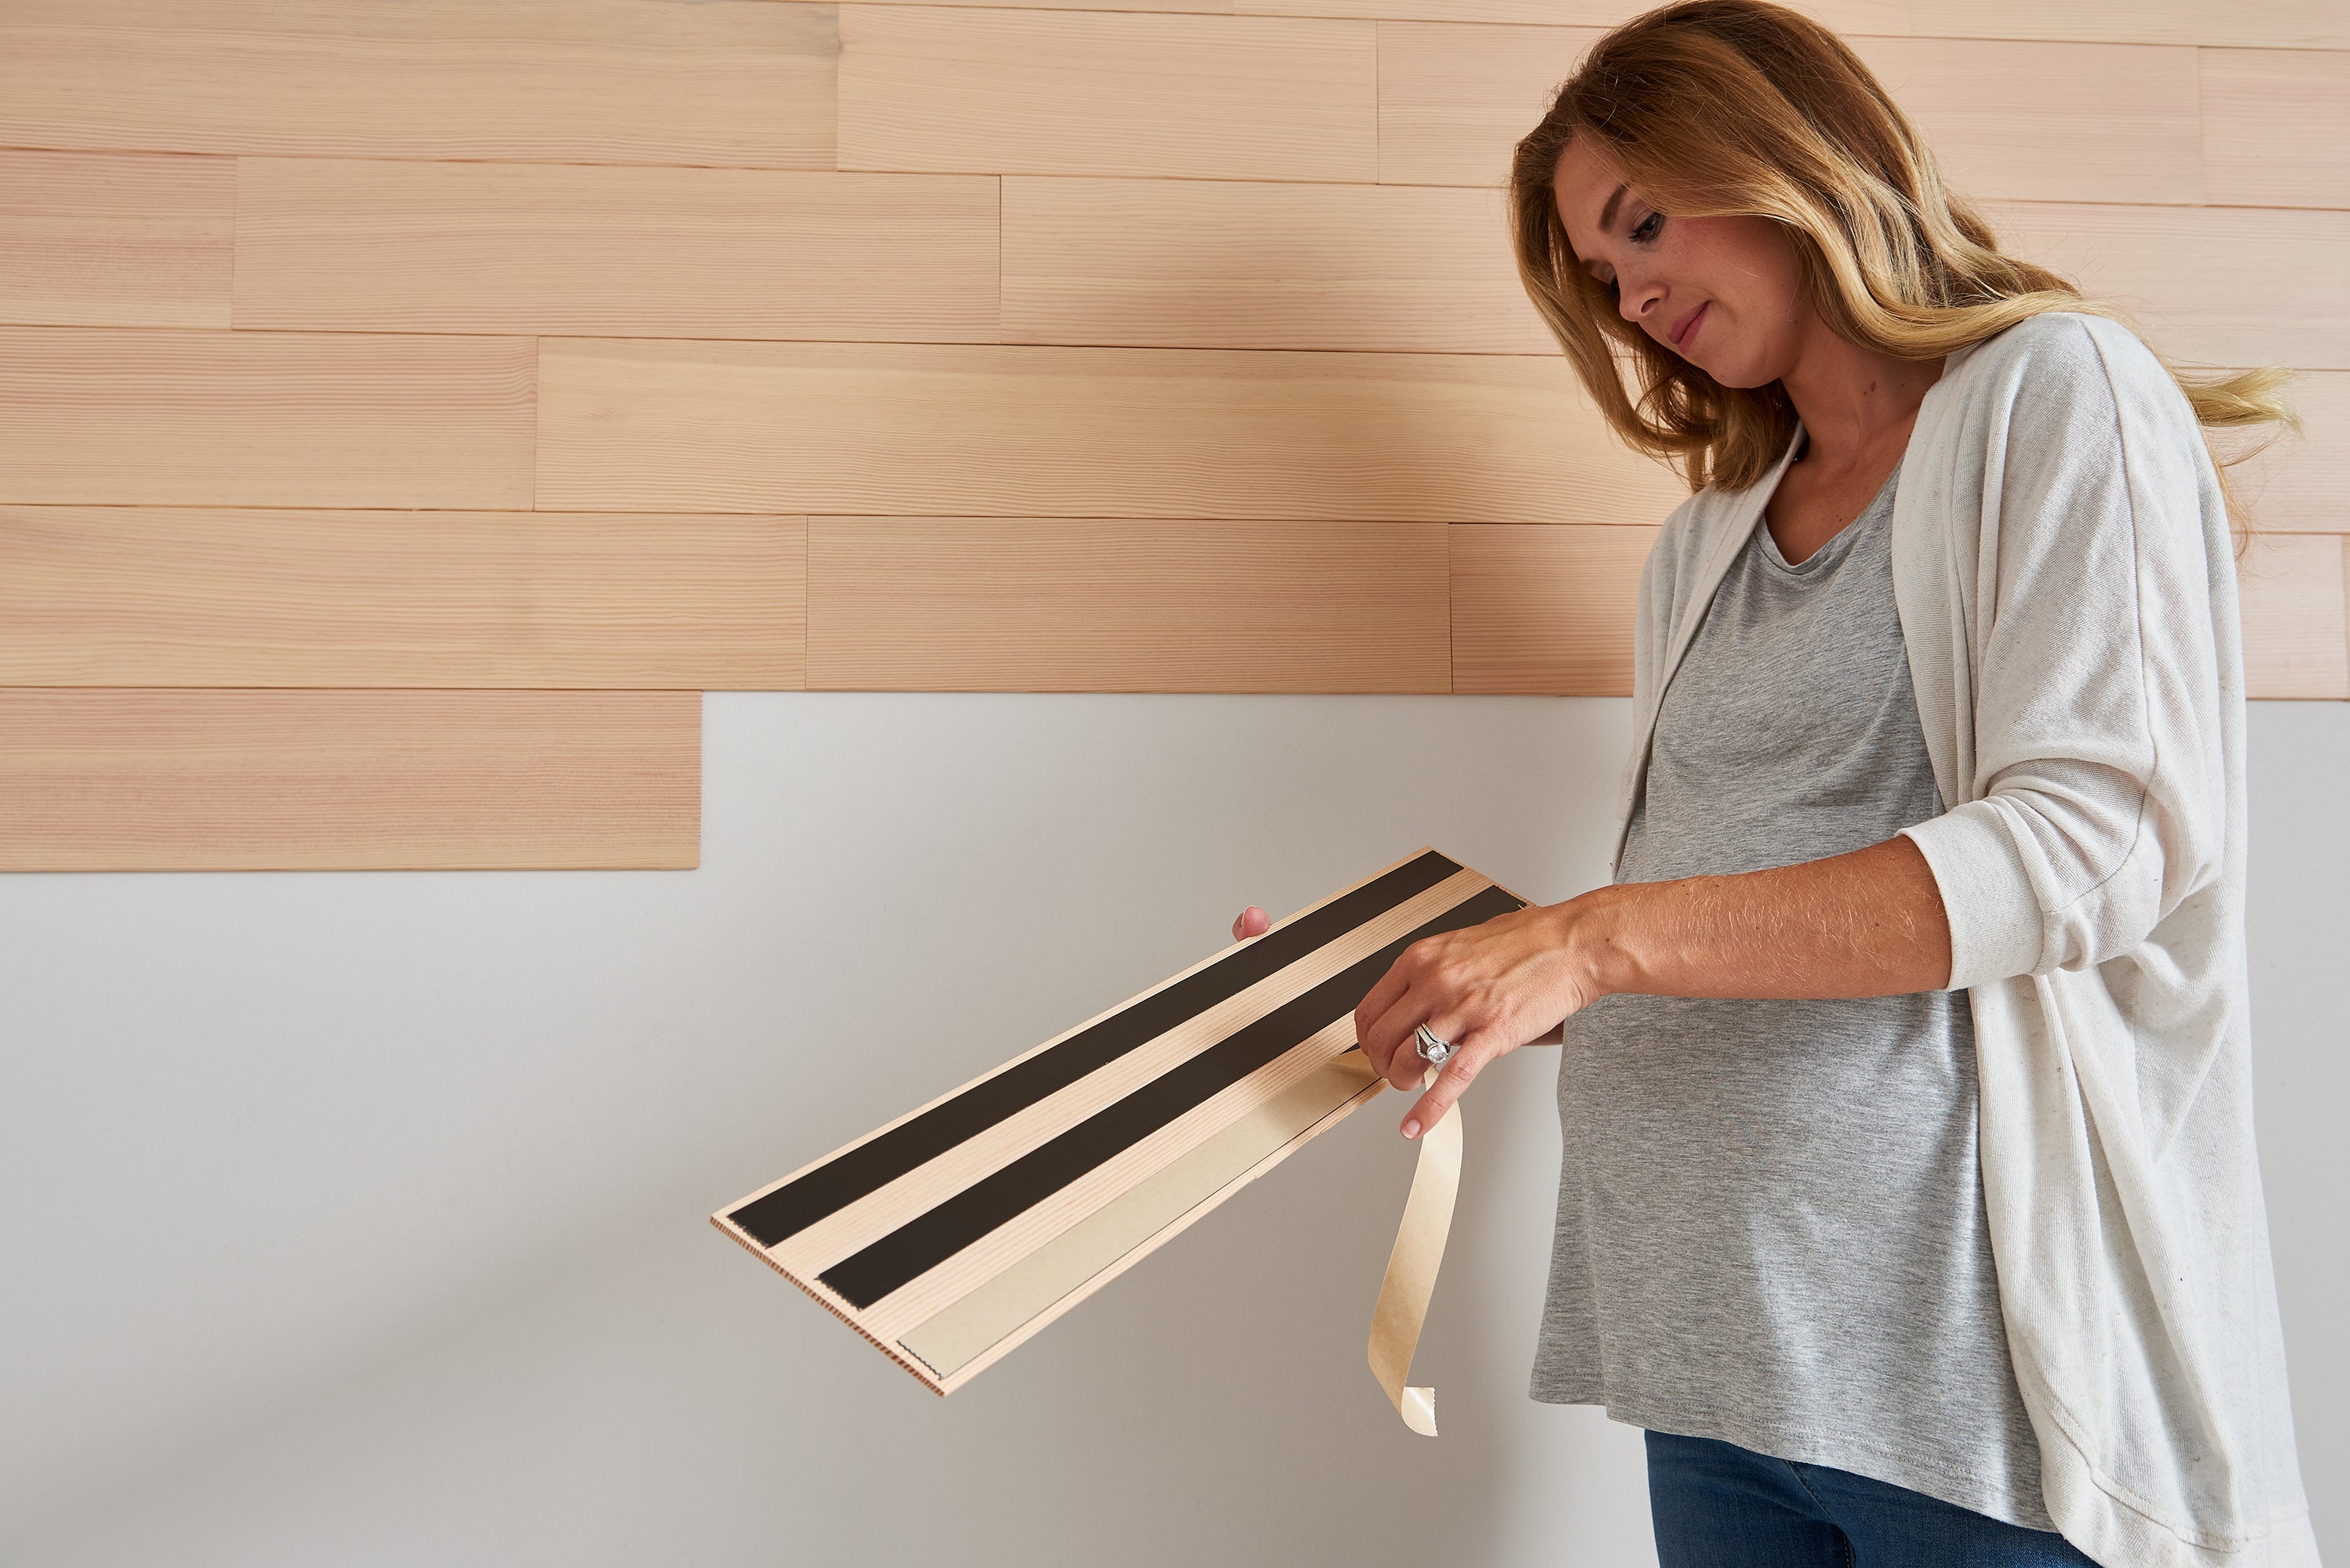
If money is an issue, you may not want to invest in reclaimed wood. Peel-and-stick planks are a good alternative.
This relatively recent innovation involves placing high-bond adhesive strips on the back of real wood planks that are sliced thin (around 1/8˝ thick). Many use reclaimed wood as part of their designs, lending the peel-and-stick panel a sense of character and age.
As one of the pioneers of this technology, Stikwood has a range of peel-and-stick panels for you to explore. Browse our selection, and you’ll most likely find a ready-made panel that is more cost-effective with a quality you can be confident in, than going down the DIY route.
You have several options if you want to find reclaimed wood without working with dealers or if you want to avoid the peel-and-stick option. Any of the following are worth trying if you want to find your own wood:
Of course, you can also repurpose the wood in your own house. Perhaps you’re removing some old decking yourself, which means you have a ready-made source of reclaimed wood. Or, you may have recently taken a delivery that came on a pallet that you’ve kept. Anything made out of wood is a potential source for your project.
Let’s assume you want to get a feel for the wood you’ll use before you buy it in bulk. In these situations, ordering a sample is often a wise decision. Even a small sample gives you an idea of the wood’s quality and lets you set the plank against a wall to visualize what it will look like when it’s in place.
Local dealers may provide free or inexpensive samples of their reclaimed planks, especially if they sell in bulk.
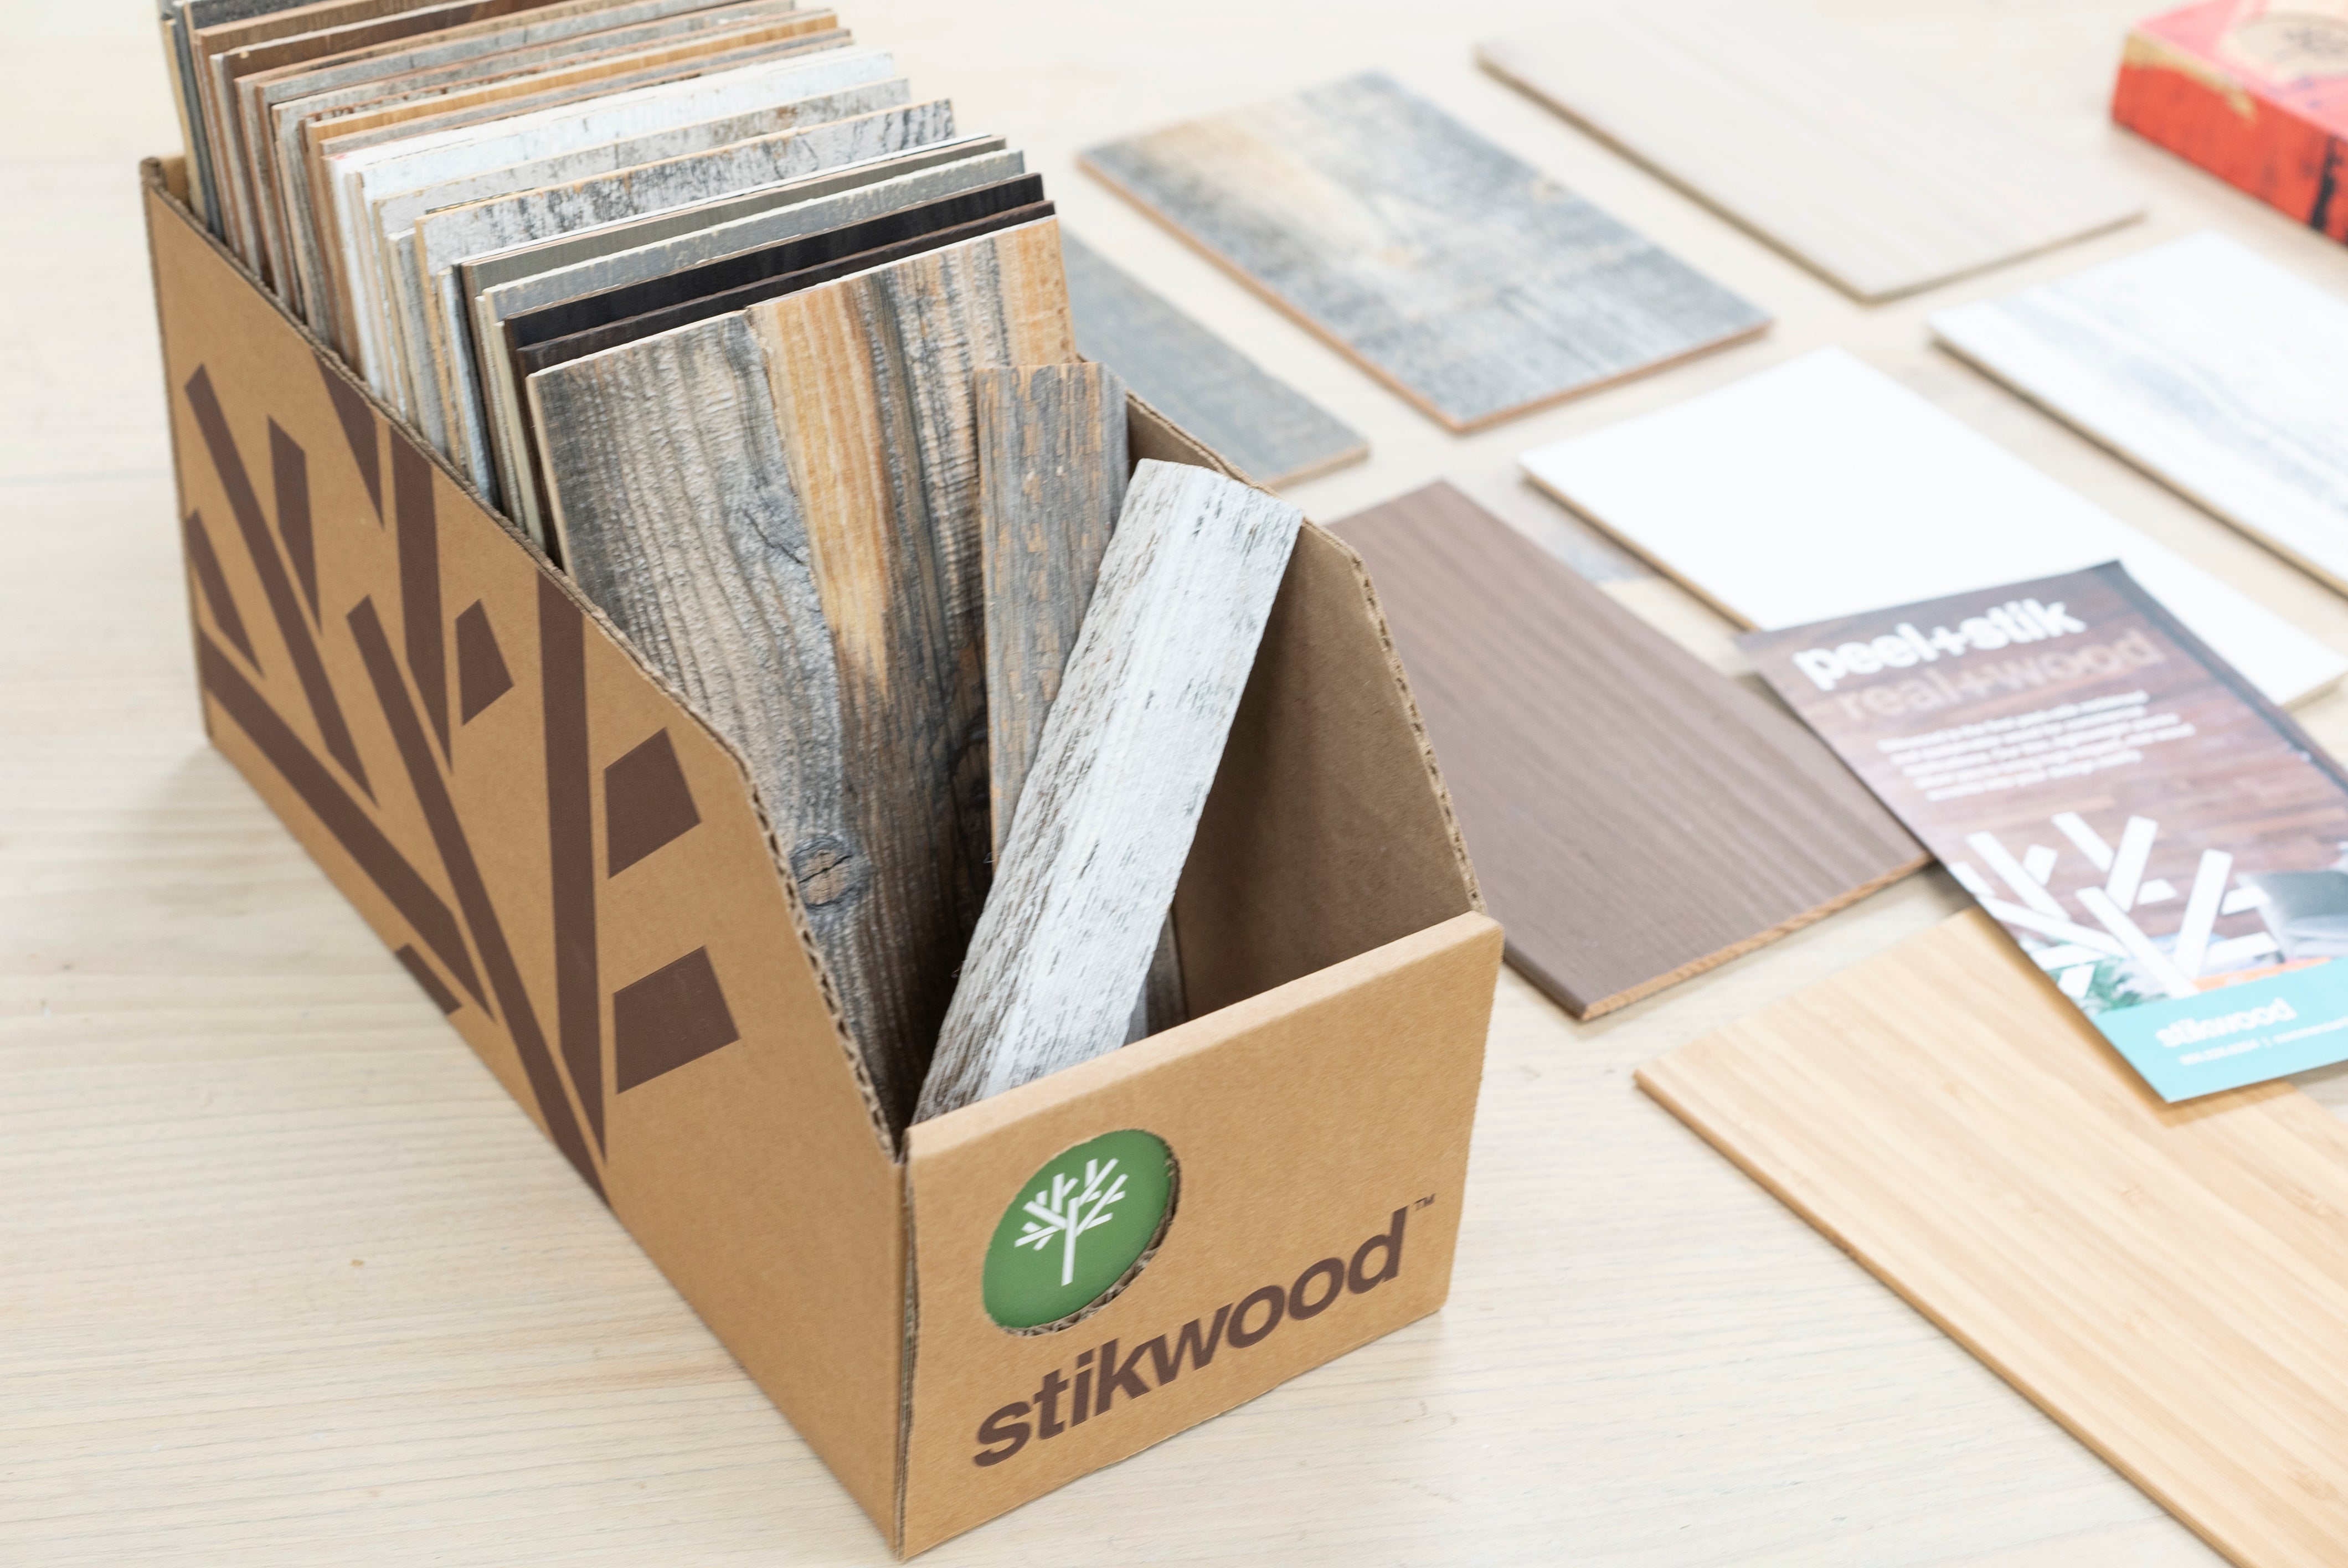
After establishing some sources for your wood planks, you’re ready to start preparing for installation. The following are the tools you’ll need for the job:
You’re almost ready to start installing. But before we explain how to install wood planks on walls, you have another important decision to make:
What pattern will you choose?
How you position your wood panels makes a big difference when it comes to the final look. The following are some common options to consider.
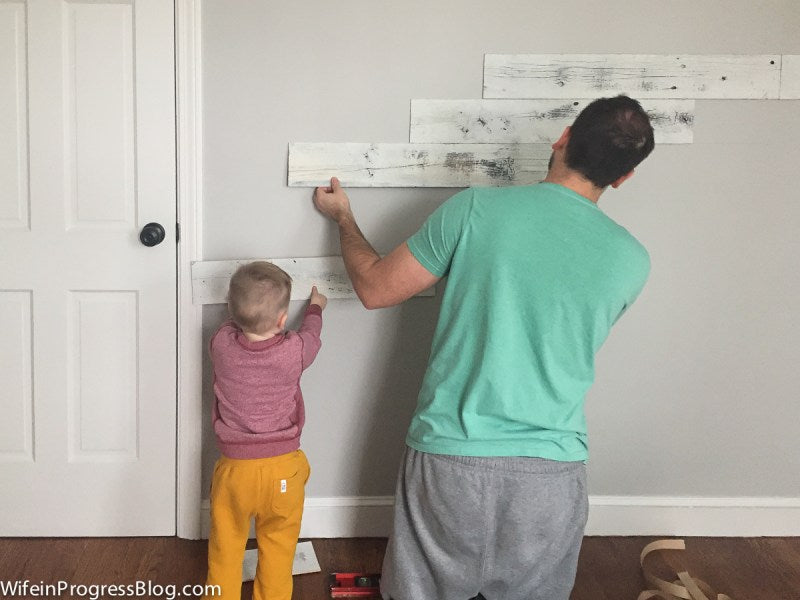
A staggered pattern involves staggering the seams of your wood planks so that they’re not perfectly in line with each other. For example, assume you have a single row of wood planks lining the bottom of your wall. You can shift the next row a few inches to the right to ensure the seams don’t align, with the third row going another few inches across, and so on. A staggered pattern ensures people see the planks as a whole decorative piece rather than focusing on the seams.
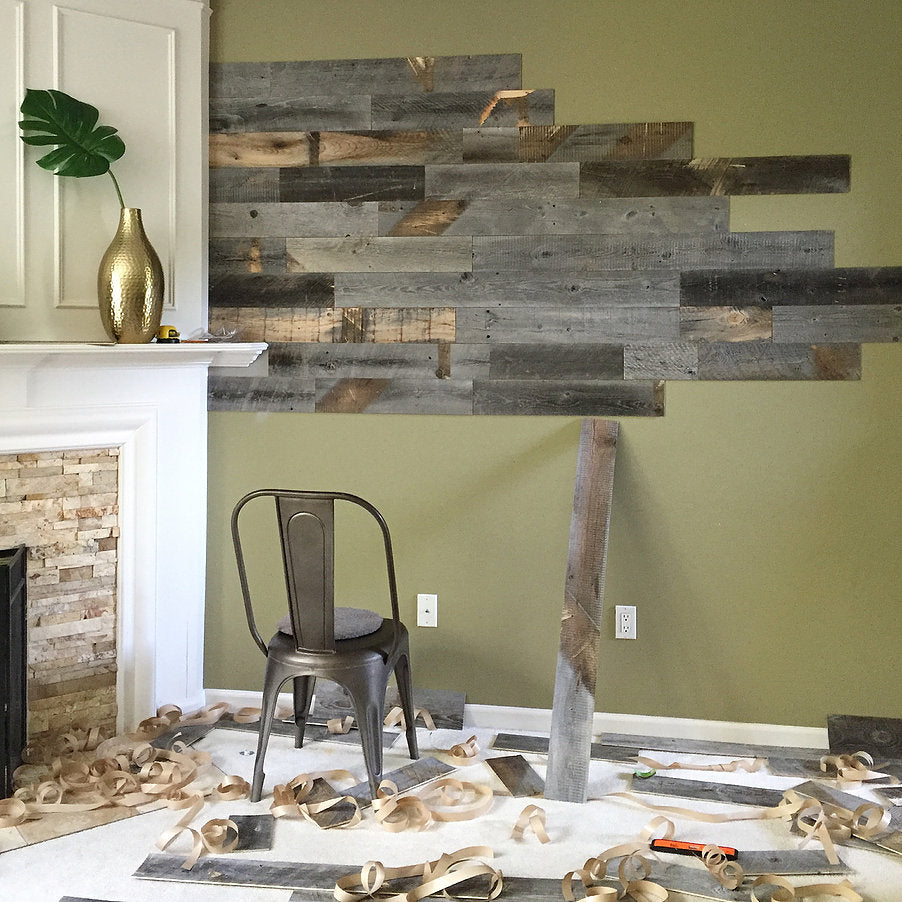
The offset staggered pattern is like the staggered pattern with more structure. As you work up your rows, you’ll offset each row based on the one that came before it. This leads to a pattern where the planks’ seams align with every other row.
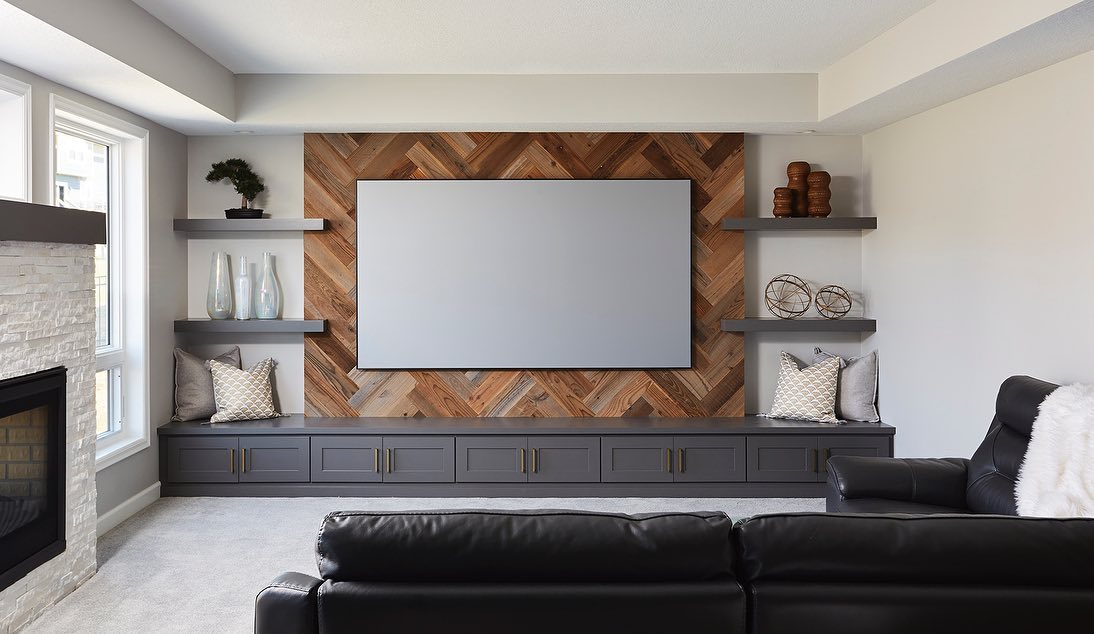
The herringbone pattern involves creating short rows of slanted, parallel planks. You put these rows next to each other, making a wall pattern that looks like a series of chevrons.
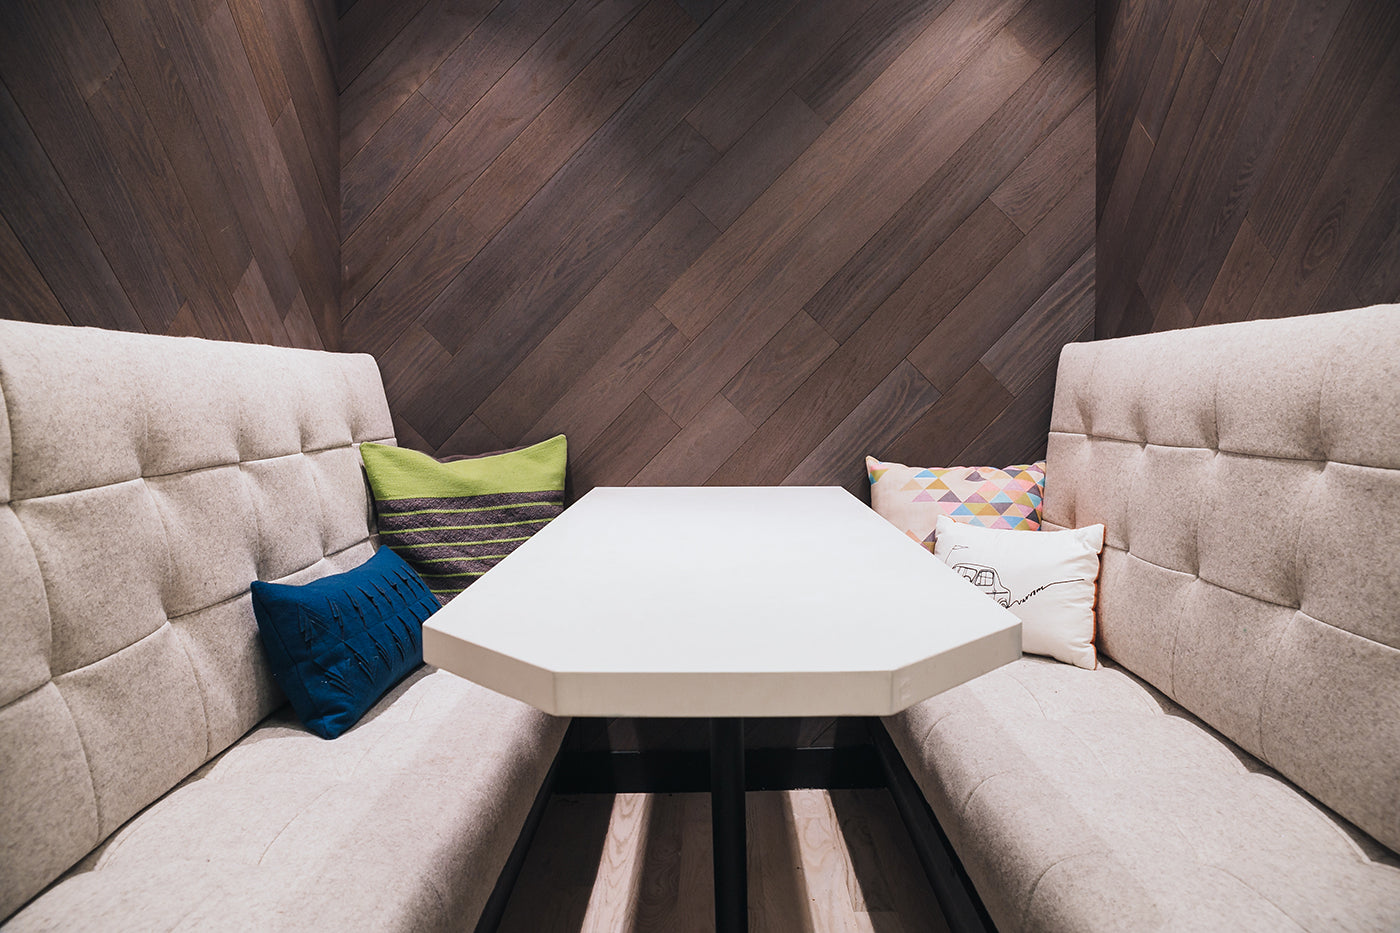
A diagonal pattern, as the name implies, requires you to place your planks diagonally rather than vertically or horizontally straight. This pattern creates an interesting look that often draws the viewer’s attention to your wall’s corners.
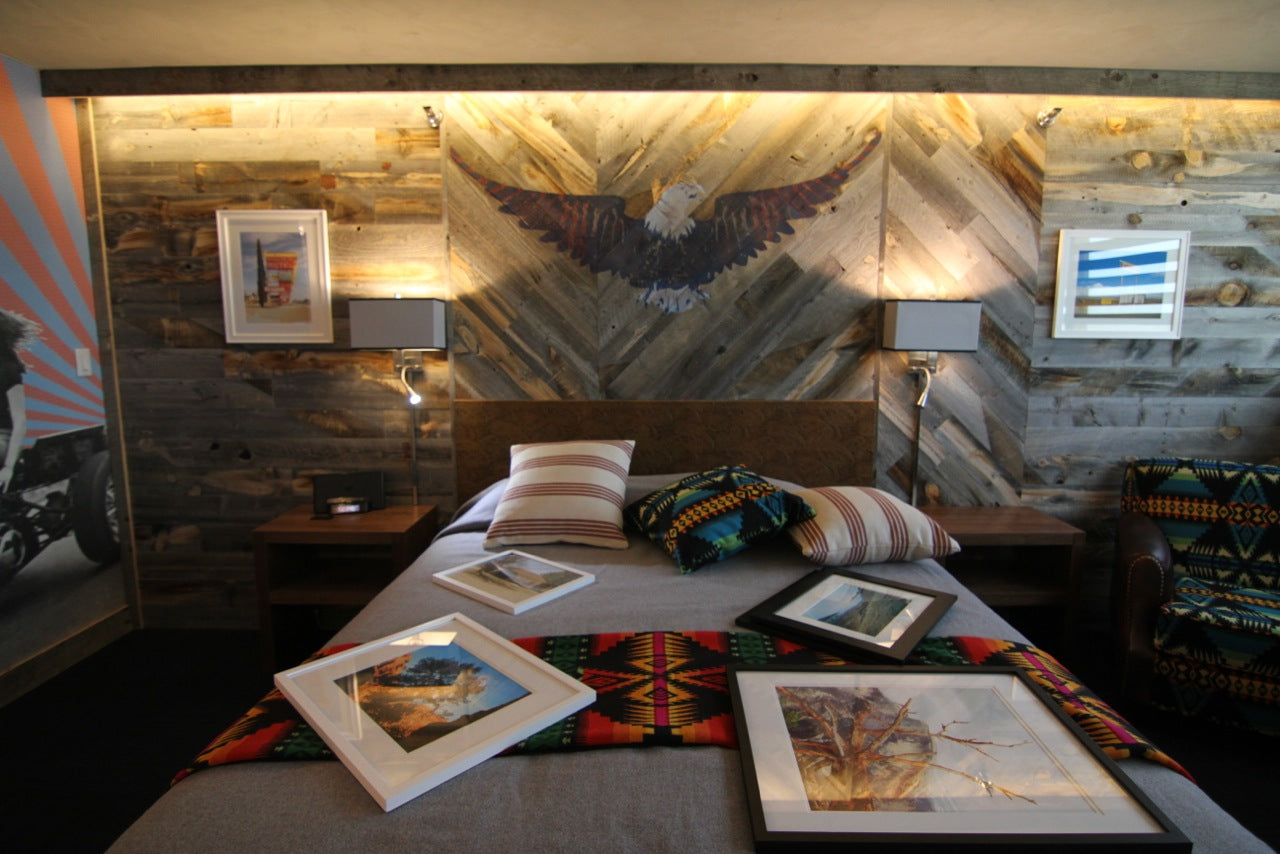
Perhaps you’d like to throw caution to the wind and place your planks wherever you feel like placing them. A random pattern looks far less organized, though random designs are often more attention-grabbing.
After deciding on your pattern, you’re finally ready to install your reclaimed wood planks on your wall. Have your tools at the ready and follow these steps:
You want to have a smooth, clean surface on which to install your wood planks, which means you must prepare your wall. This process involves removing old nails and staples from previous installations. If you’re placing your wood over existing drywall, use a stud finder to locate and mark your studs so you know where to nail each plank. Finally, remove any outlet or light switch covers.
How much work you have to do to get your wood ready to use depends on how it came to you. You’ll often need to sand the wood to smooth out rough edges and prepare it for painting. However, some dealers handle this work for you, which justifies the money you’ll pay compared to sourcing the wood yourself. You may also need to cut the wood to suit your chosen pattern.
Take a plank and use your wood glue to secure it to the wall. Of course, the glue won’t hold it in place forever, which means you might need to use nails. Grab your nail gun or hammer and drive a finishing nail through the middle of your marked studs to ensure you get a secure hold.
Note that you must account for wood’s capacity to shrink and expand depending on the temperature. Leave between 1/16 and 1/8 of an inch around each plank to give it the room it needs to expand without disrupting your pattern. Repeat this process for each of your planks.
If your reclaimed wood plank goes over an electrical outlet or light switch, you need to cut out a gap in the plank. This is where your jigsaw comes into play. Measure the outlet or light switch before using your pencil to mark those measurements on the plank. Then, use your jigsaw to cut the wood out, leaving a clearly defined gap.
Keep repeating Step 3, with an occasional stop for Step 4, until you’ve installed all of your planks. You’ll notice that your nails are currently visible, which distracts from the look you’re going for. Use wood filler, putty, or caulk to fill the nail gaps. Wood filler is preferred because it gives the most natural look.
Sand away any excess, and your wood planks are successfully installed.
Figuring out how to install wood planks on walls is tricky if you don’t have appropriate guidance. You have to source your wood, collect the appropriate tools, select a pattern, and carry out the installation. With this guide, you have everything you need to install your planks successfully.
Of course, you may prefer the simpler peel-and-stick option, which simplifies the process and requires far less tool work. If that’s the case, Stikwood has a wide range of peel-and-stick planks available in various colors and patterns. Check out our online store today and feel free to order some samples so you find the perfect peel-and-stick planks for your project.

Join our newsletter to stay informed with new product releases, designer spotlights and promotions.
Your cart is currently empty.
Start Shopping