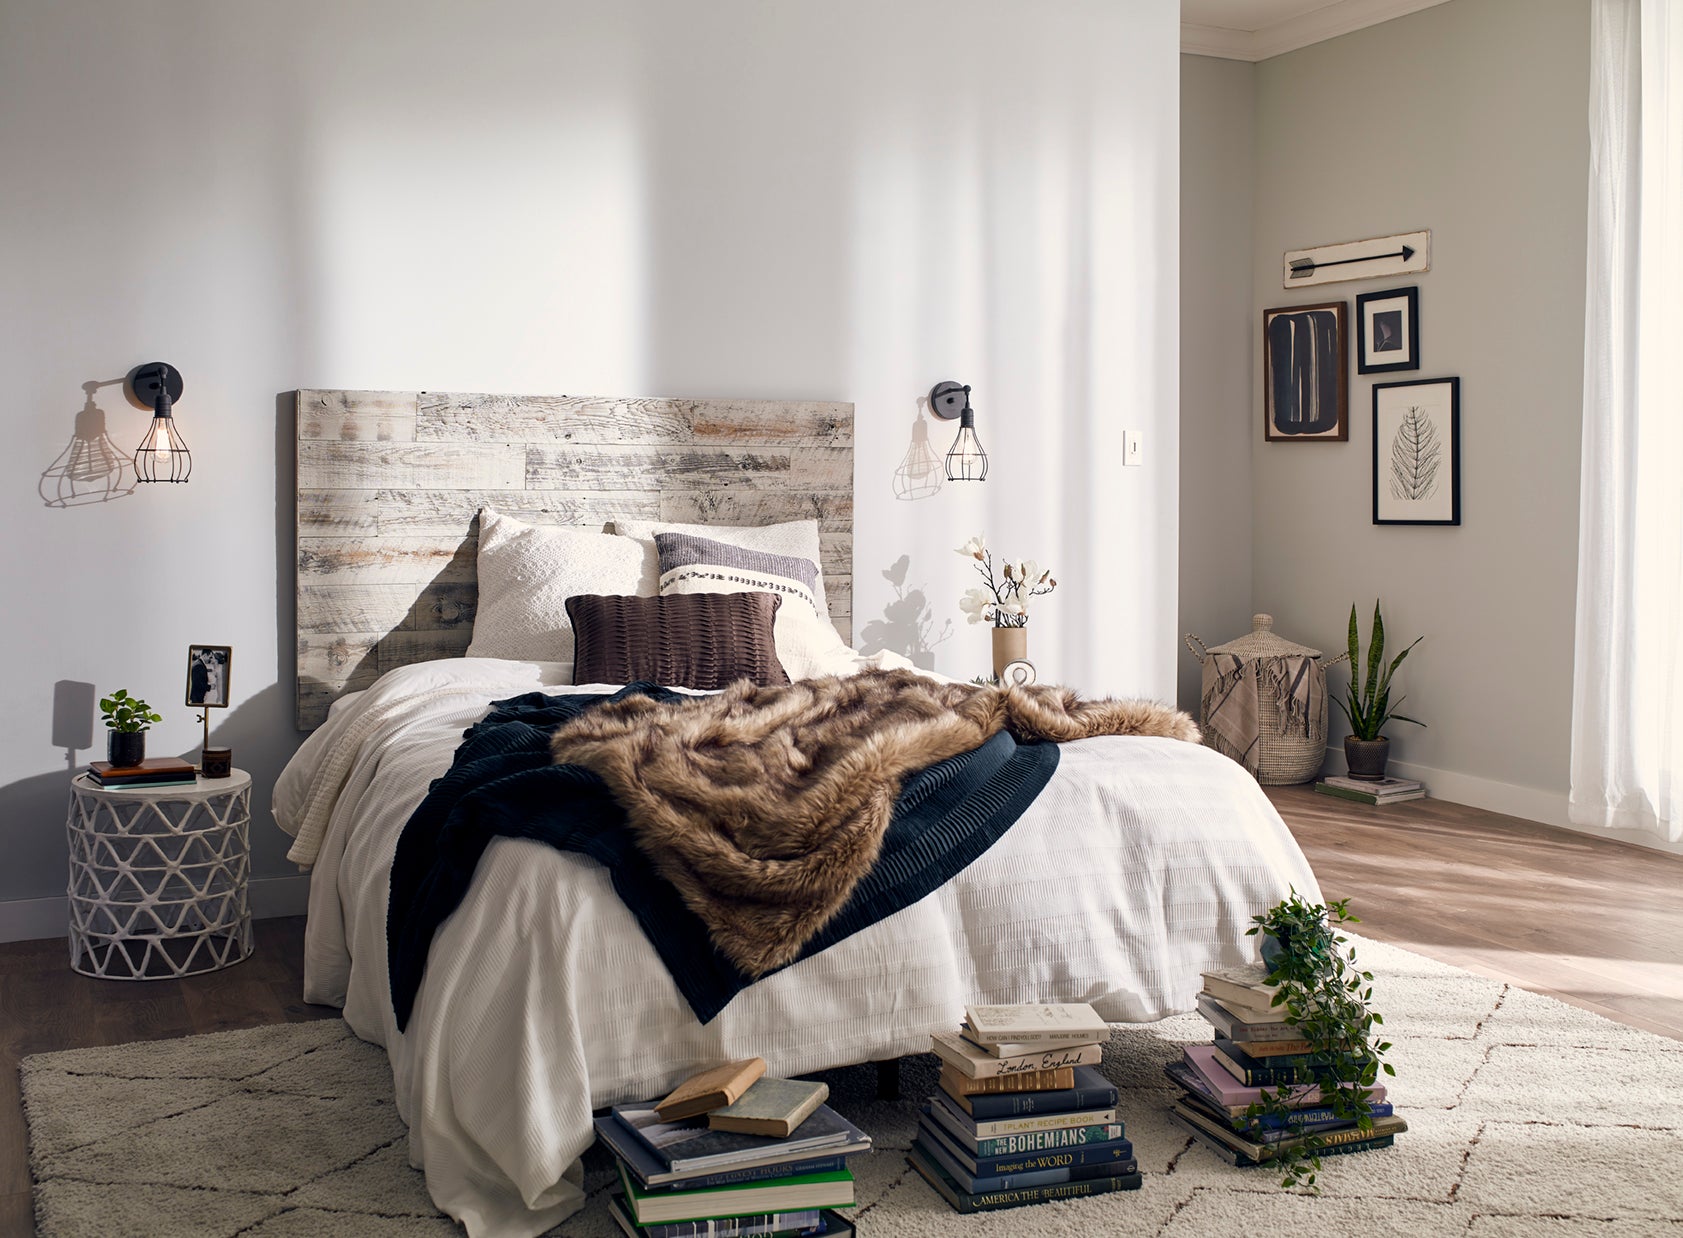
Reclaimed wood is a natural design choice for any bedroom. It adds a warm, organic element to a space where you need to feel the most relaxed. But you don’t need a major renovation; you can dress up your bedroom and add a focal point in no time with a DIY wood headboard.

Peel and Stick Wood Is Your Bedroom's BFF
Whether you have less than an hour or can invest a full day in beautifying your bedroom, you’ll be amazed by the results of these easy DIY projects. They’re listed here in order of time and effort required, from “insanely easy” to “no sweat.”
Wood Rustic Headboard in a Box

Our Stikits headboard kits provide everything you need to build and mount an authentic reclaimed wood headboard. The peel and stick wood is pre-cut, meaning no power tools are required and cleaning up is a cinch. This is an ideal solution for renters who want their gorgeous new rustic wood headboard to be portable.
Rustic with a Side of Rustic
If you want a little extra touch of flair from your rustic wood headboard, turn it on its head. Apply distressed peel and stick wood planks of varying lengths to the wall behind your bed in a vertical pattern, leaving the top edge uneven. The final effect is reminiscent of a naturally weathered old farm fence.
A Handy Headboard Wall
Build a rustic wooden headboard wall in your favorite reclaimed wood finish. A headboard wall is basically a material mounted to the wall behind your bed that acts as a headboard -- in this case, peel and stick wood planks. As opposed to an accent wall, it’s typically the exact width of your bed, and can extend to whatever height you desire. We recommend using wood or metal trim for a clean, well-defined look. If you take the headboard high enough, you can add a few reclaimed wood accent shelves to store your sleep essentials.

Pretty in Prints
Personalize your DIY wood headboard wall even further by putting your stamp on it. Find a stencil that speaks to you in a crafts store and use it apply a pattern to a peel and stick wood headboard, or paint on your favorite quote. For an even easier solution, see our Plankprints collection of printed peel and stick wood that comes in traditional and modern designs.
Rustic Wood Canopy
For some sophisticated drama, extend your headboard wall all the way up and onto the ceiling. In order to pull this off, your peel and stick wood must be applied impeccably, so make sure to watch our how-to videos. The rule of thumb is to keep the headboard wall dimensions consistent with the size of your bed. In other words, the width on the wall and ceiling should be the same as the width of your bed, and length of the ceiling portion should stop at the length of your bed. This can easily be accomplished in one weekend -- maybe even one day -- and the result is stunning!
It Starts with Real Reclaimed Wood

Remember, just because your DIY headboard was easy to make and didn’t require a wood shop doesn’t mean it isn’t legit! Stikwood planks are made from environmentally friendly, 100% reclaimed wood. No two boards are exactly alike, so each rustic wooden headboard will come out unique. Isn’t that why you DIY?
Don't forget to sign up!
Join our newsletter to stay informed with new product releases, designer spotlights and promotions.

