
TOOLS YOU'LL NEED:
- J Roller
Step 1:
Peel the adhesive backing from the trim piece.
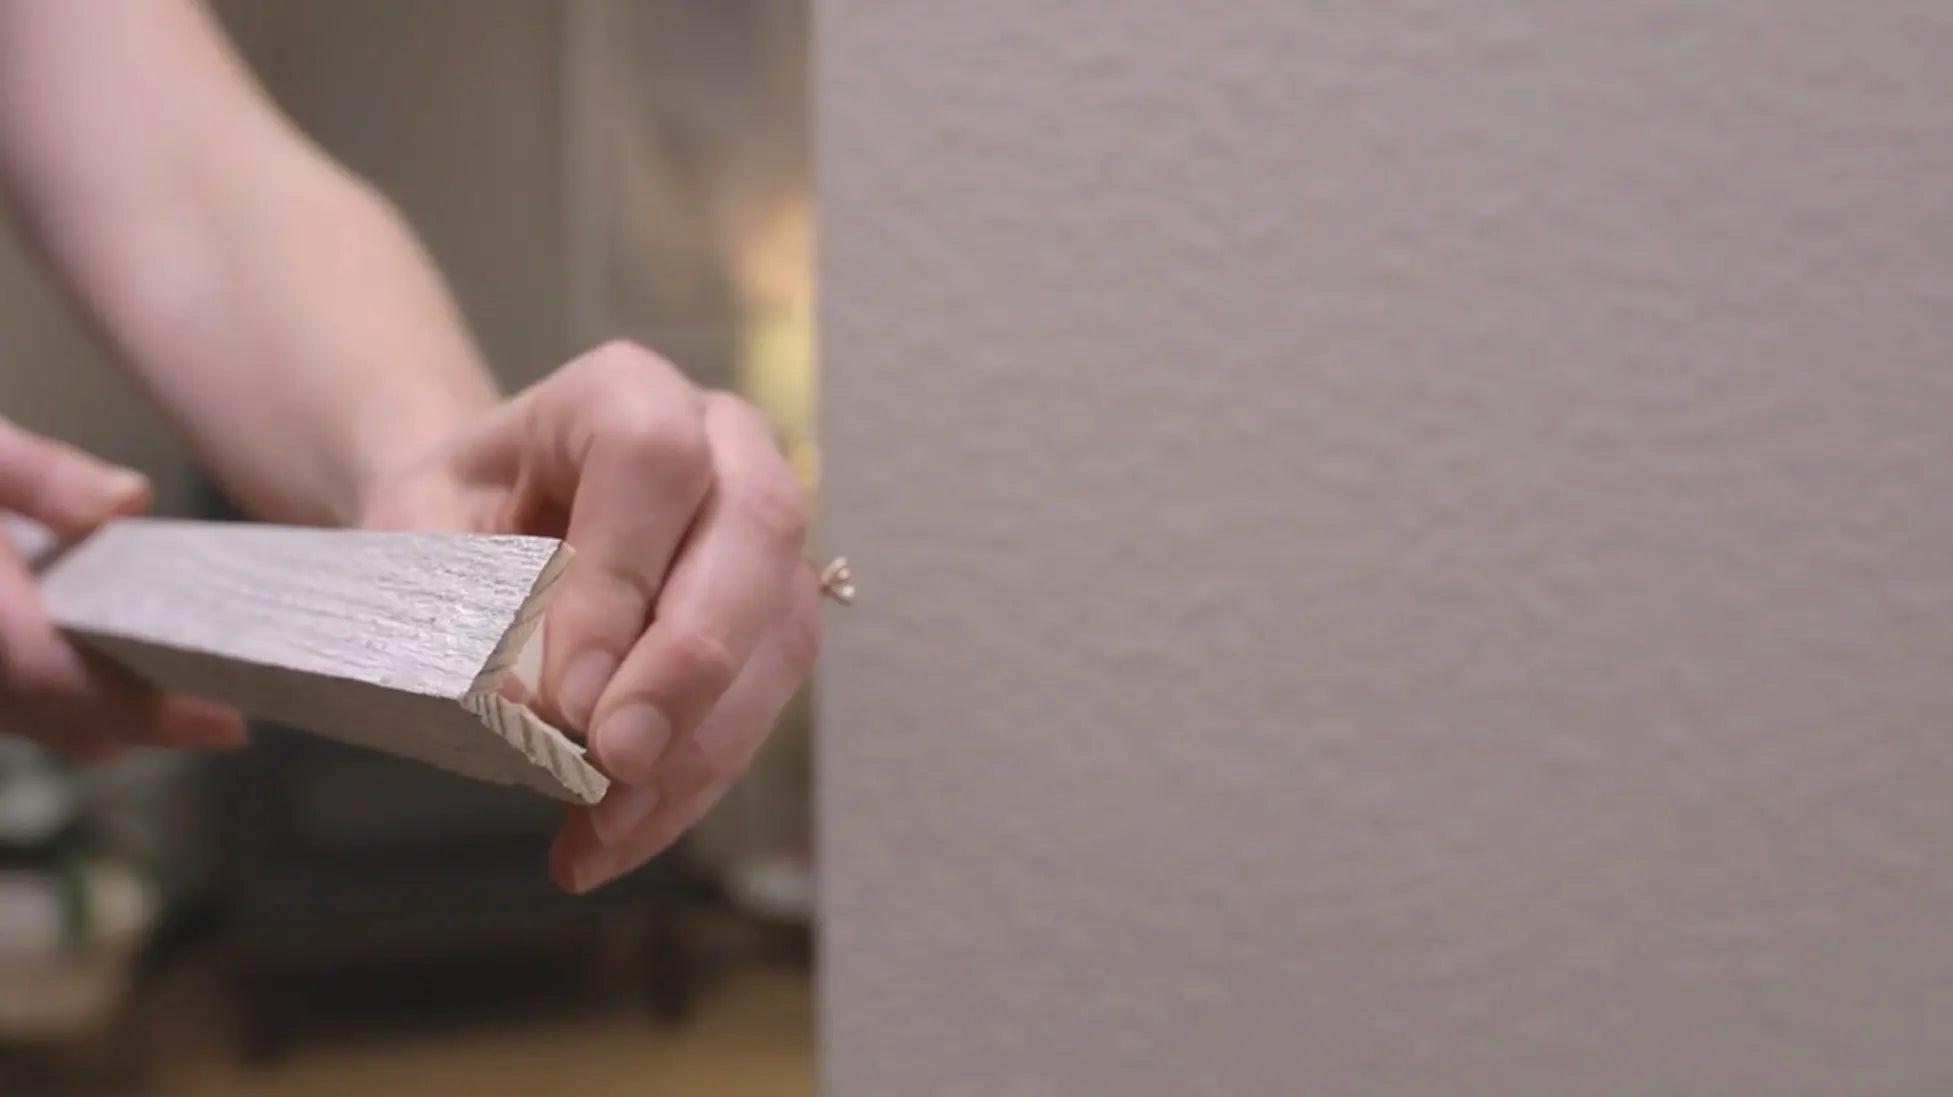
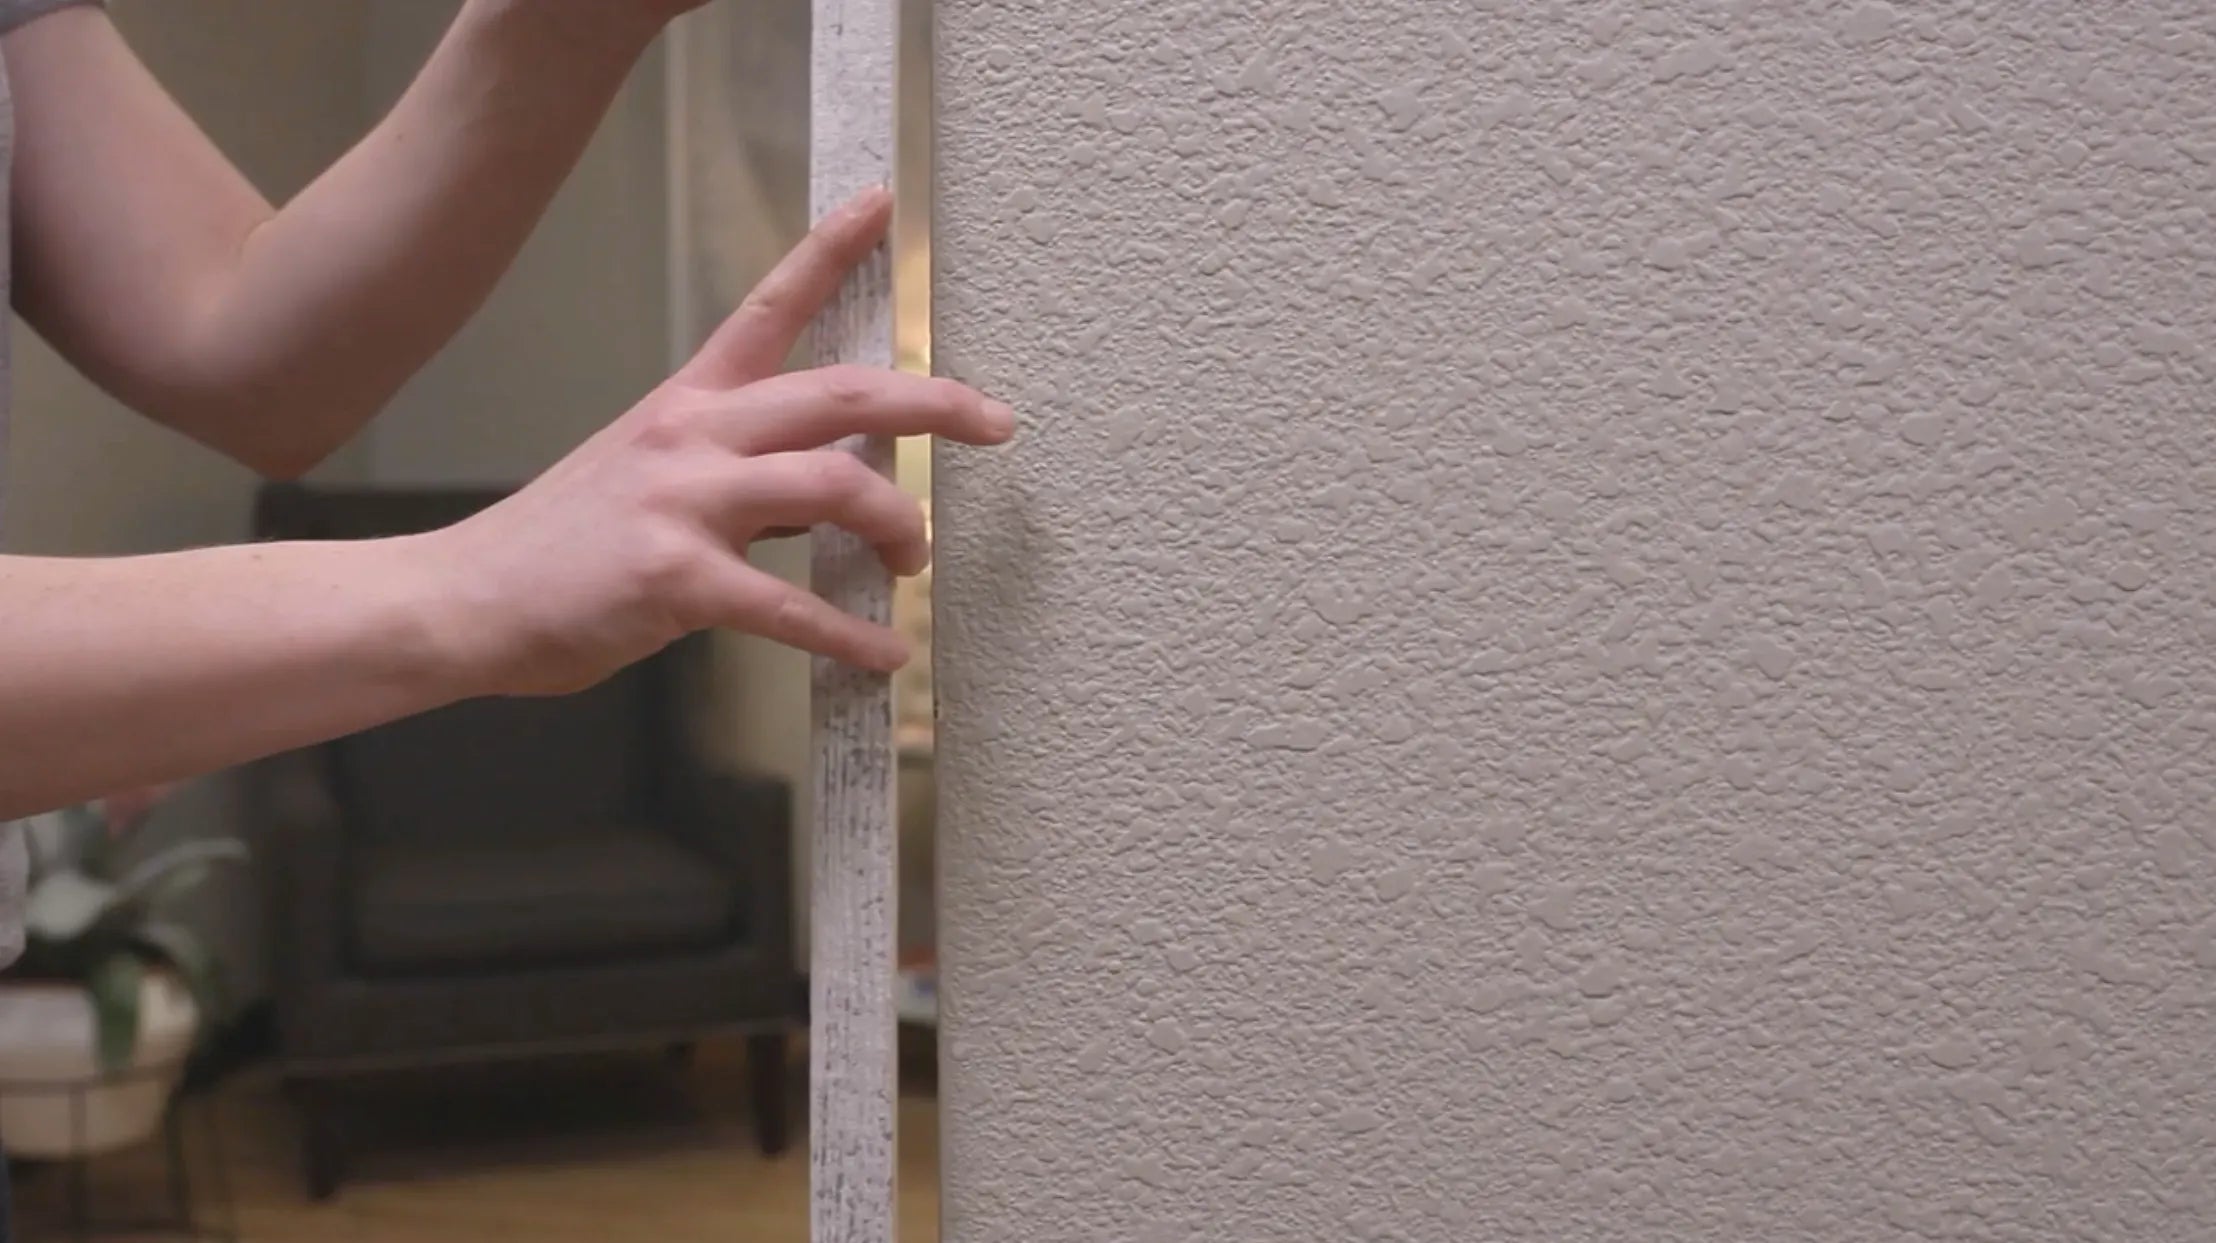
Step 2:
Adhere wood trim to the outside corner. Roll with a J-Roller to ensure proper adhesion.
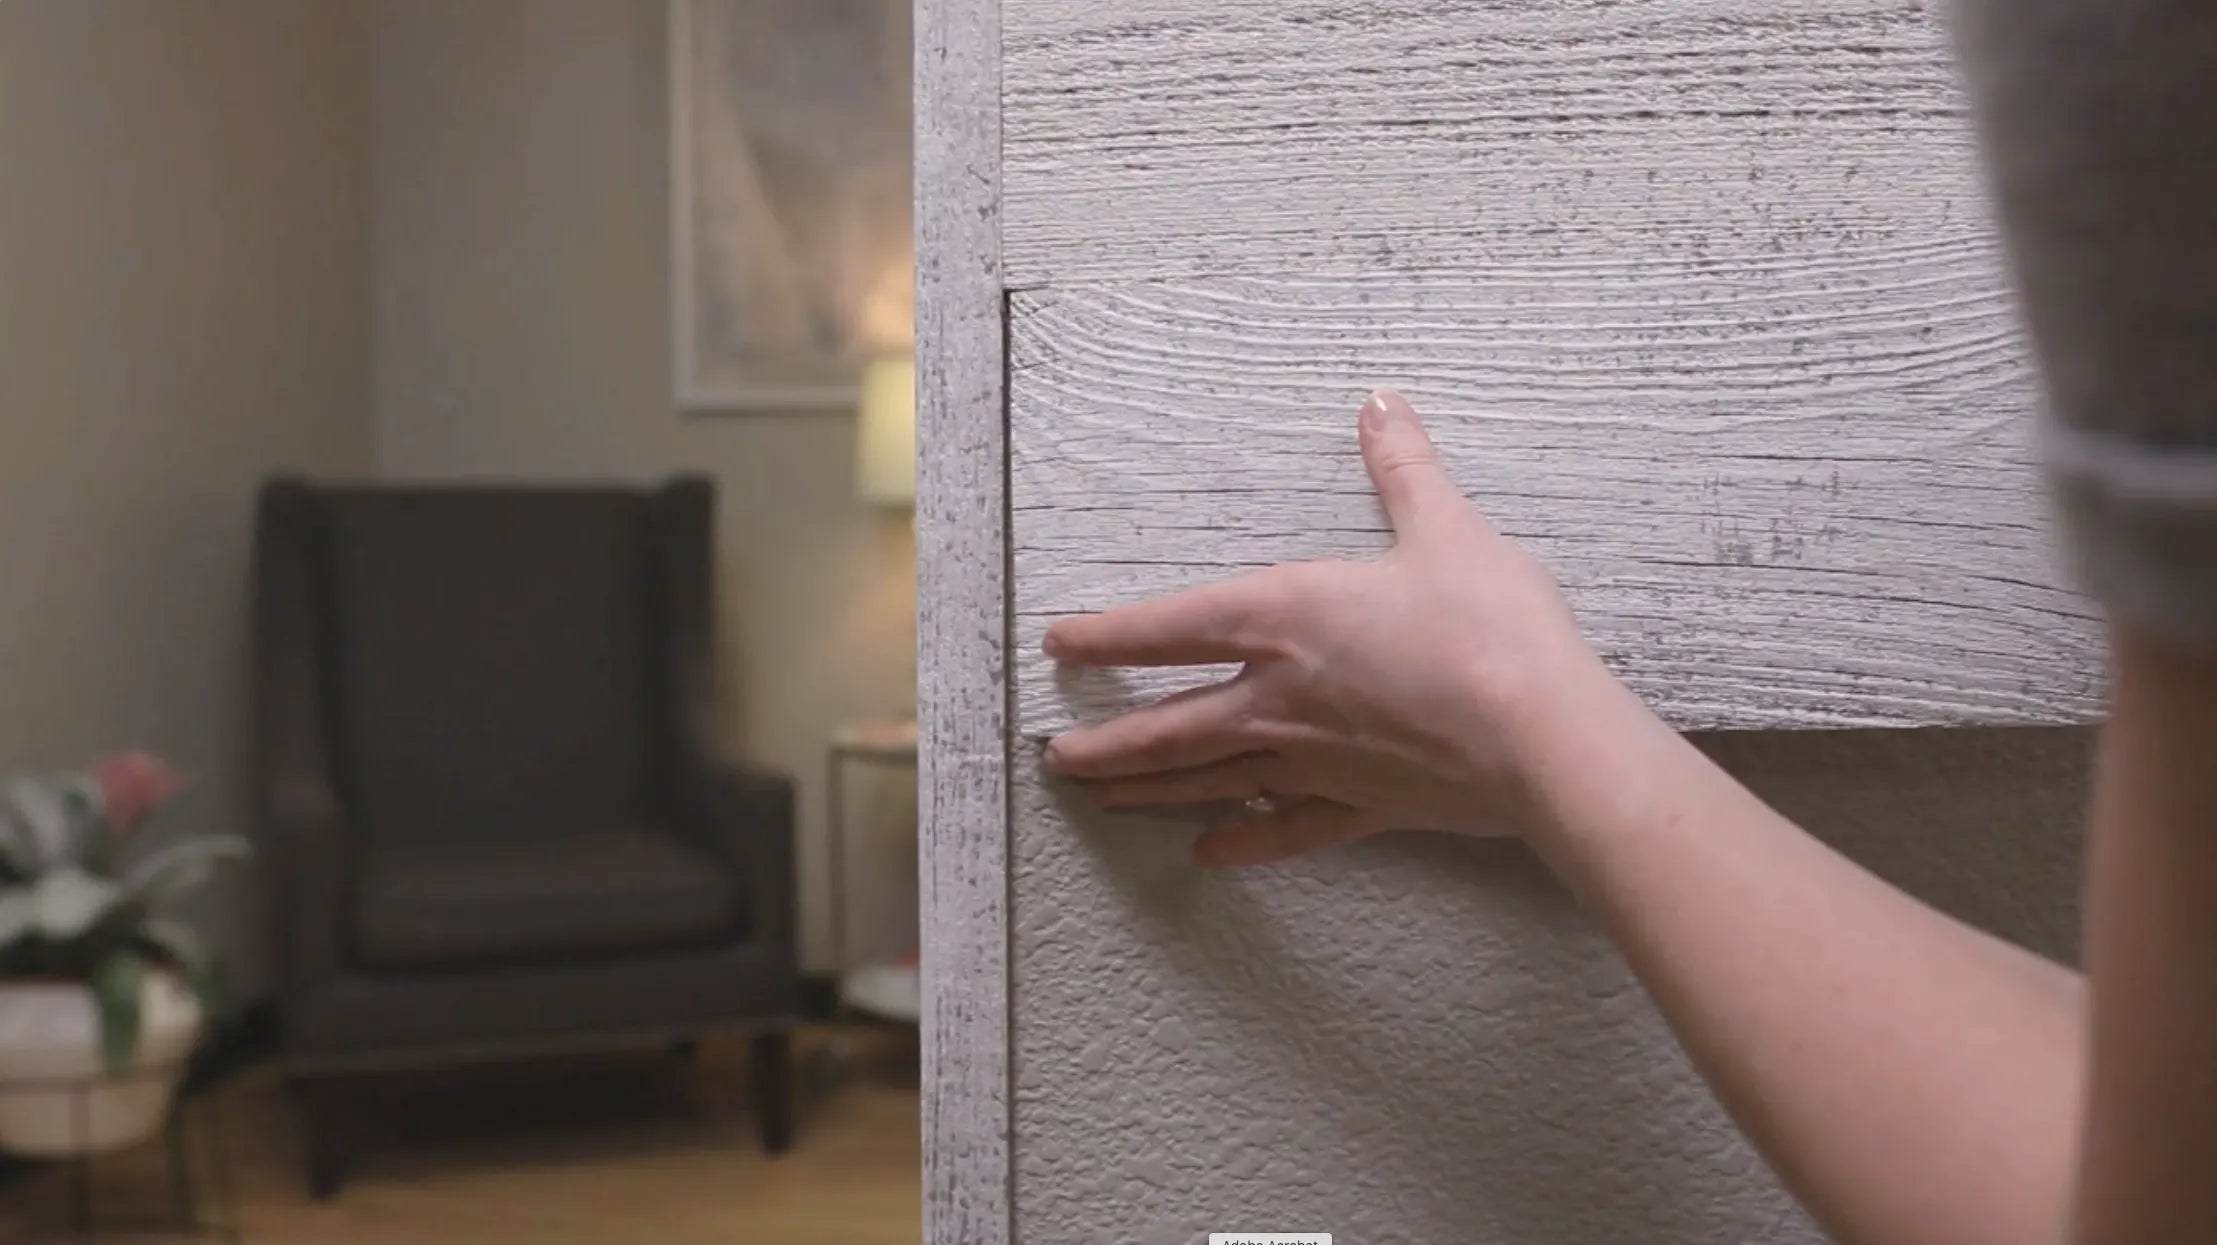
Step 3:
Apply the planks flush to the edge of the corner piece, making sure to tuck the plank closely to the trim and any pieces surrounding the plank. Roll with a J-Roller to ensure proper adhesion.
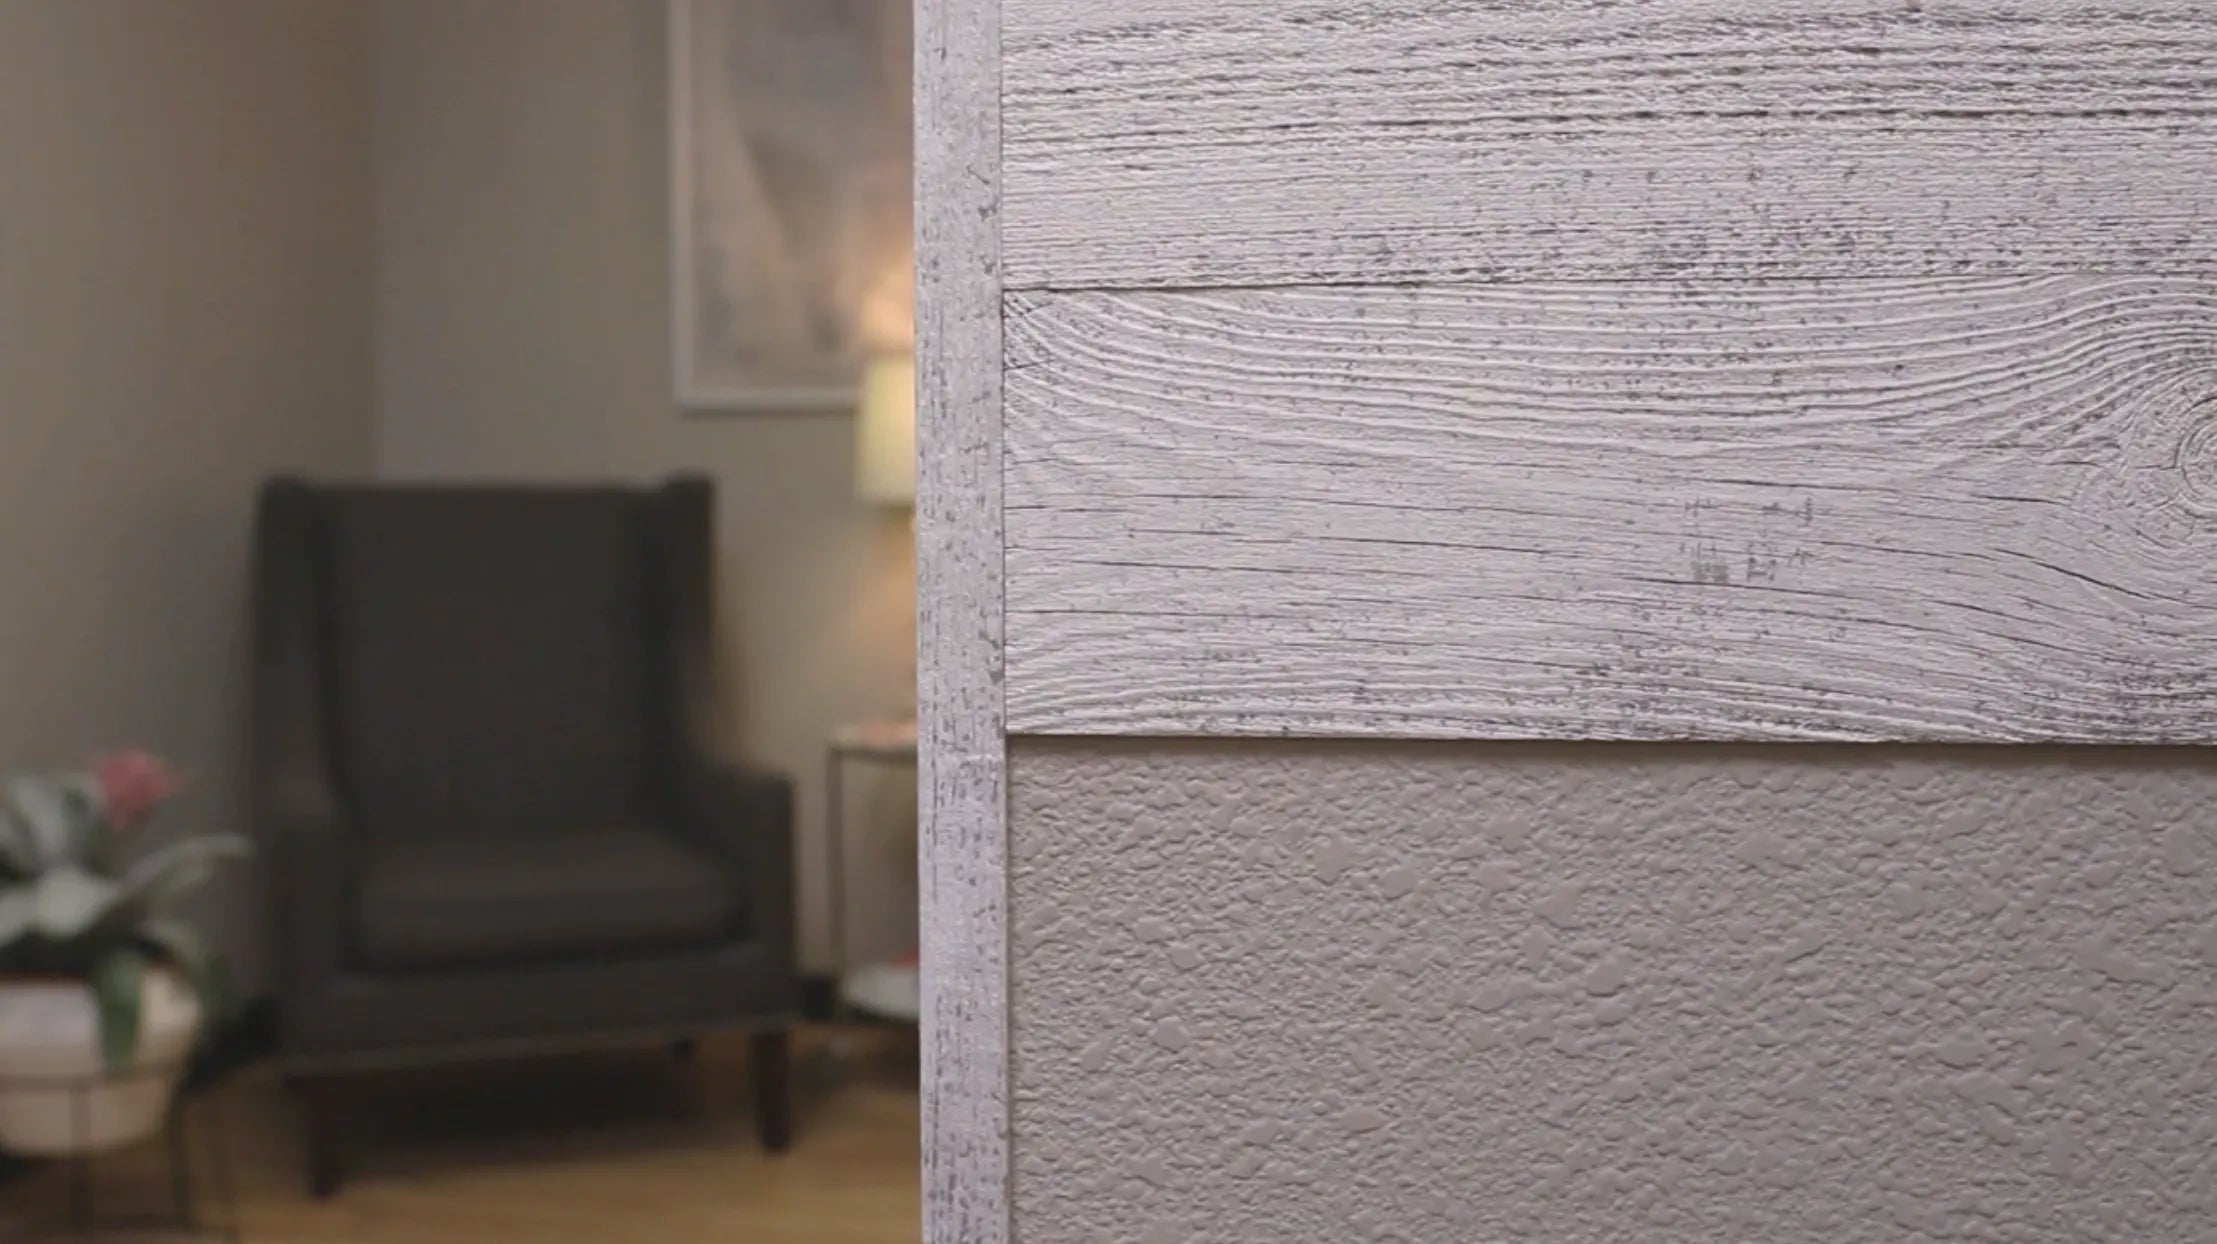
Step 4:
Viola! Once you arrive at the edge during each row you're installing, continue to install the planks alongside the trim, ensuring to tuck the plank into the trim first.

Don't forget to sign up!
Join our newsletter to stay informed with new product releases, designer spotlights and promotions.
